
Welcome to
Wednesday Windings…wherever the creativity takes us!

I hope you’ll join us by linking up one of your recent creative adventures (just add you link over to the left side bar!) and share some inspiration by checking out the other projects posted too!
Last week I discovered a blogging gem, Jen, at Kitchen Counter Chronicles (listen to me, as if I’m some kind of professional talent scout rather than an obsessive mom-project-web-surfer!). She posted this great article about ironing plastic bags to make reusable sandwich bags–which she kindly linked up here at Wednesday Windings last week! Naturally, after seeing how easy she made it seem and considering the vicious baggie-buying cycle we’re on with packing school lunches every day, I decided to try it.
Now you’re expecting me to share my success with you here, no doubt. And that leaves me in a blogging quandary. Does sharing my semi-screw-ups make you love me more? I hope so.
Here we go.
First I folded and stacked my plastic bags together. I did remember to fold all the wording to the inside so it didn’t bleed out everywhere when I got to the iron.

Then I placed them between some wax paper to be ironed.

I had decided that if they could be sewn like fabric that I would just sew a fabric shell to them to make them fun, and since I needed some fabric for the ironing anyway, that’s what you see here…
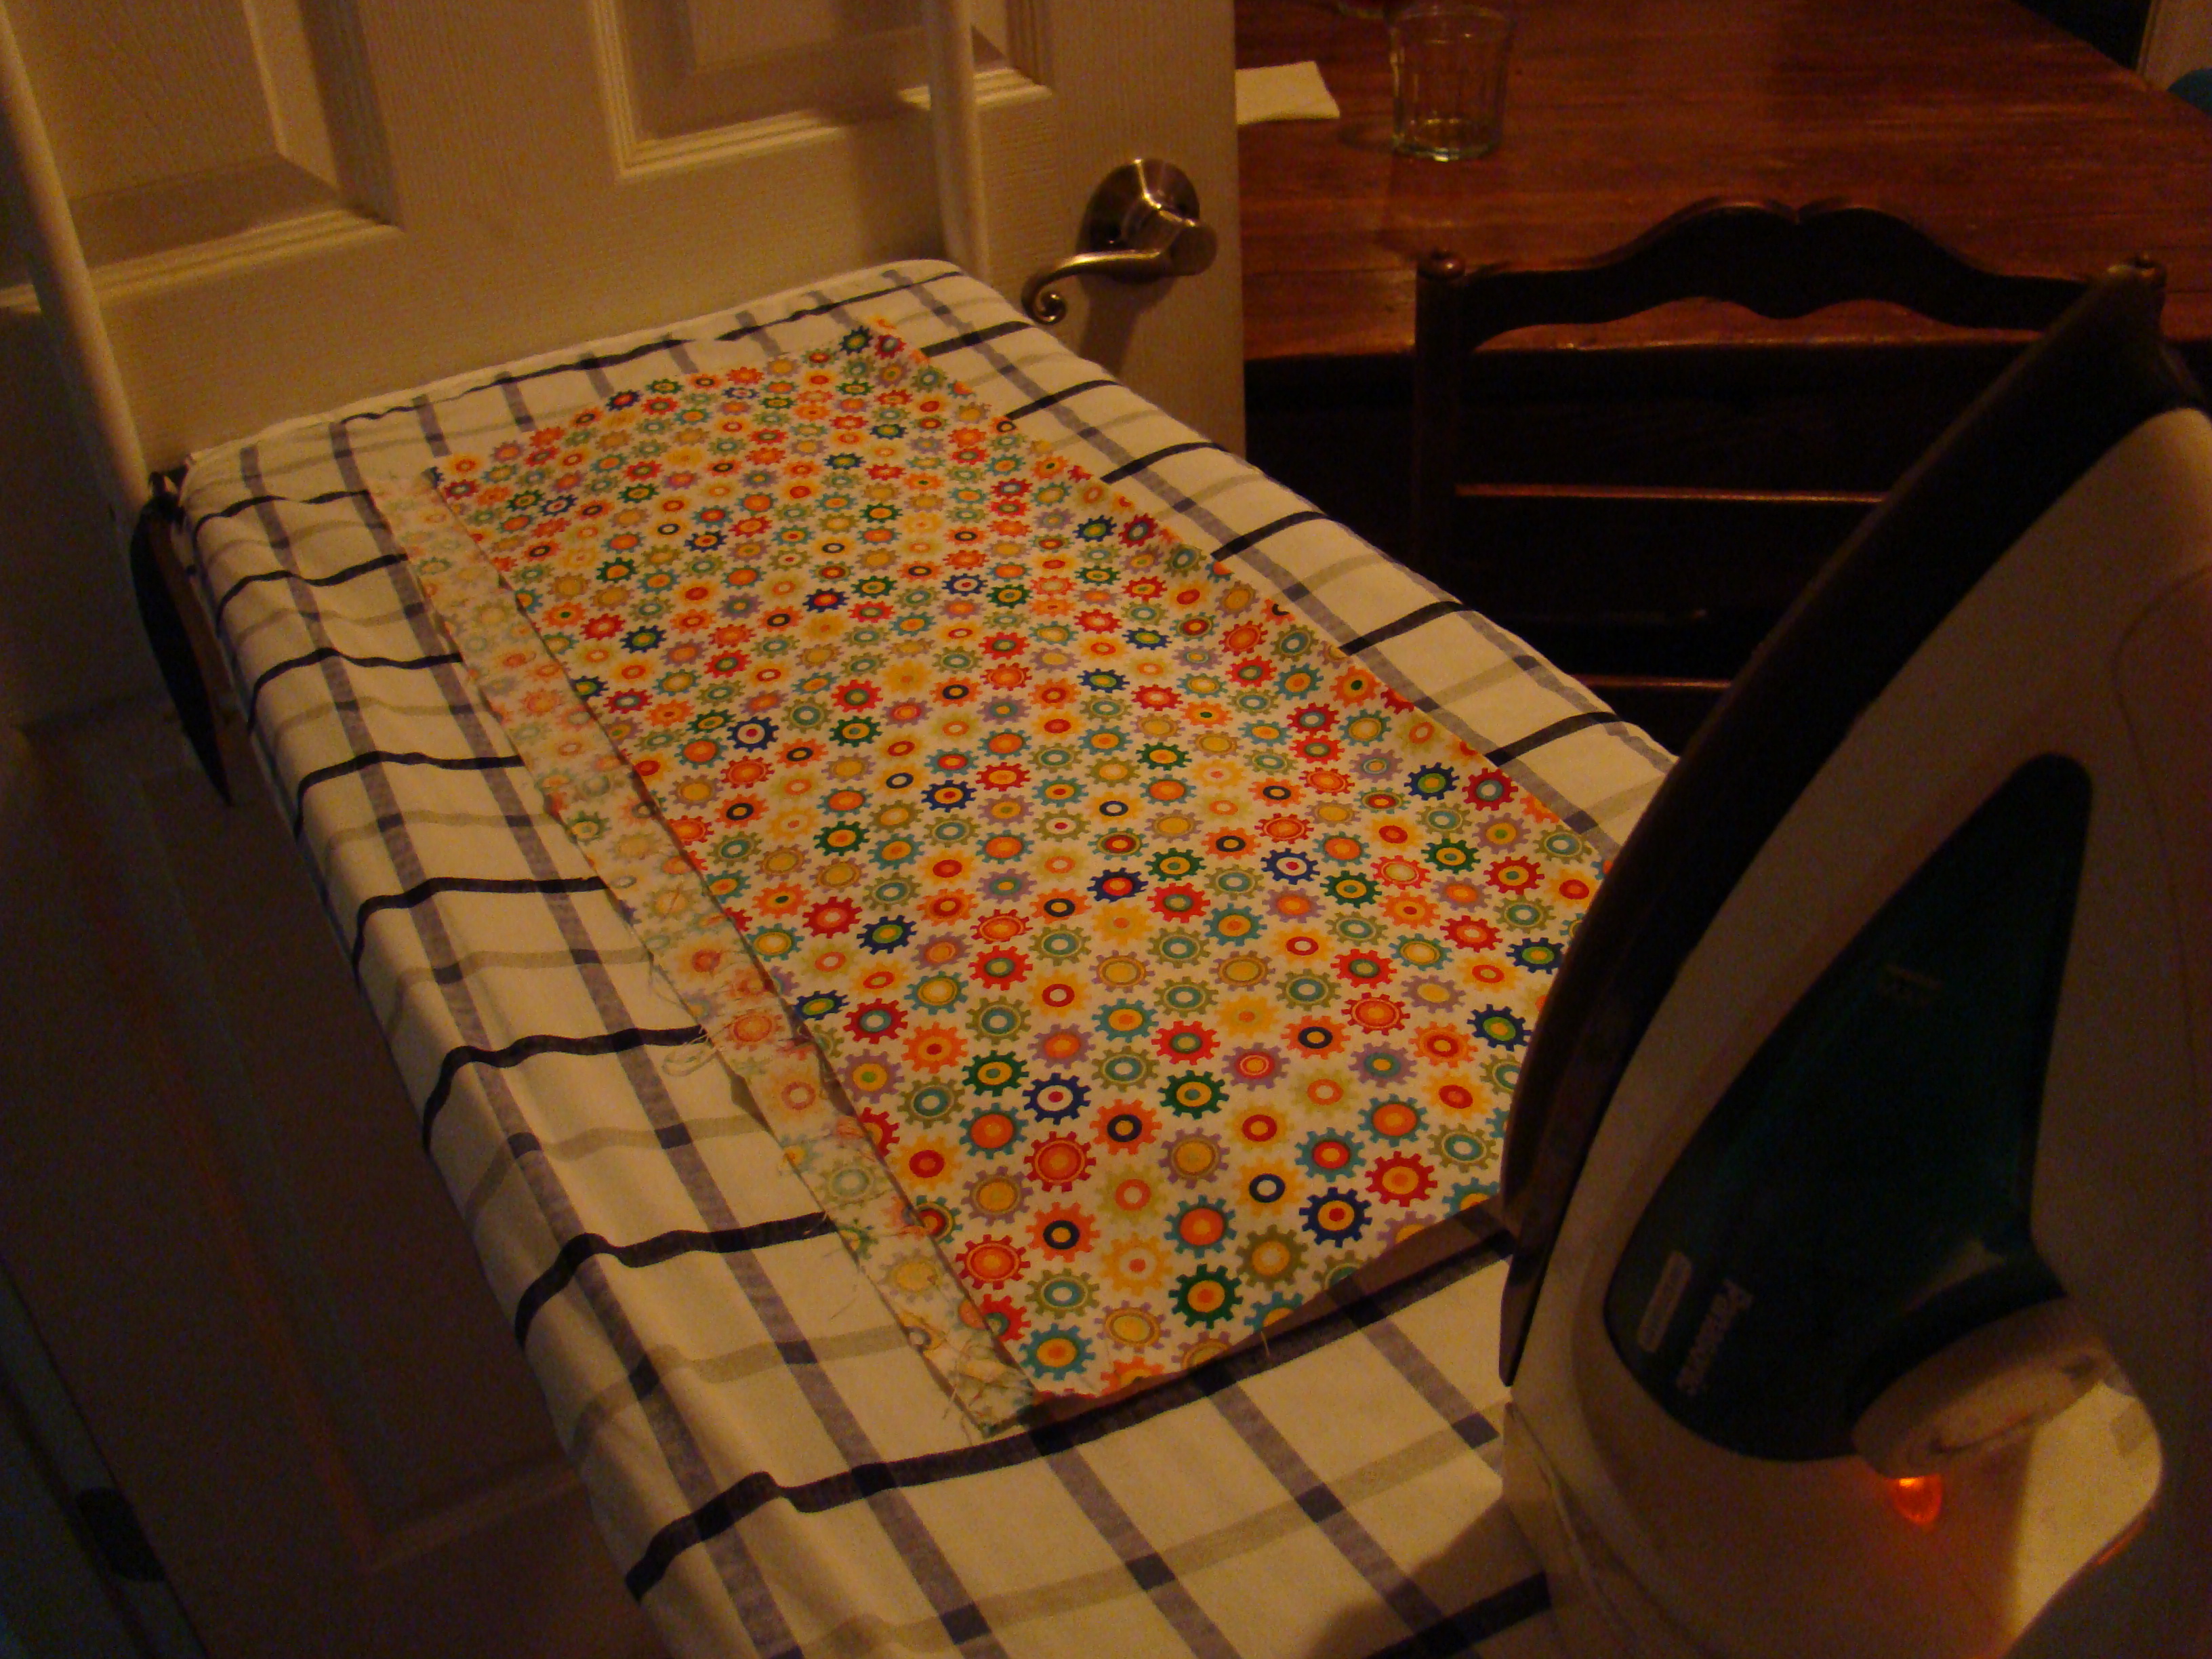
Here comes my lesson in reading directions 101. I ironed. I ironed and ironed and ironed. I definitely ironed until the plastic bags were all fused together. And then until the wax paper was fused to the plastic bags. Looking back, (and re-reading the directions) I think I should have stopped before melting the wax paper into my project…
I never did get all the wrinkles out. (Hm, wonder why?)
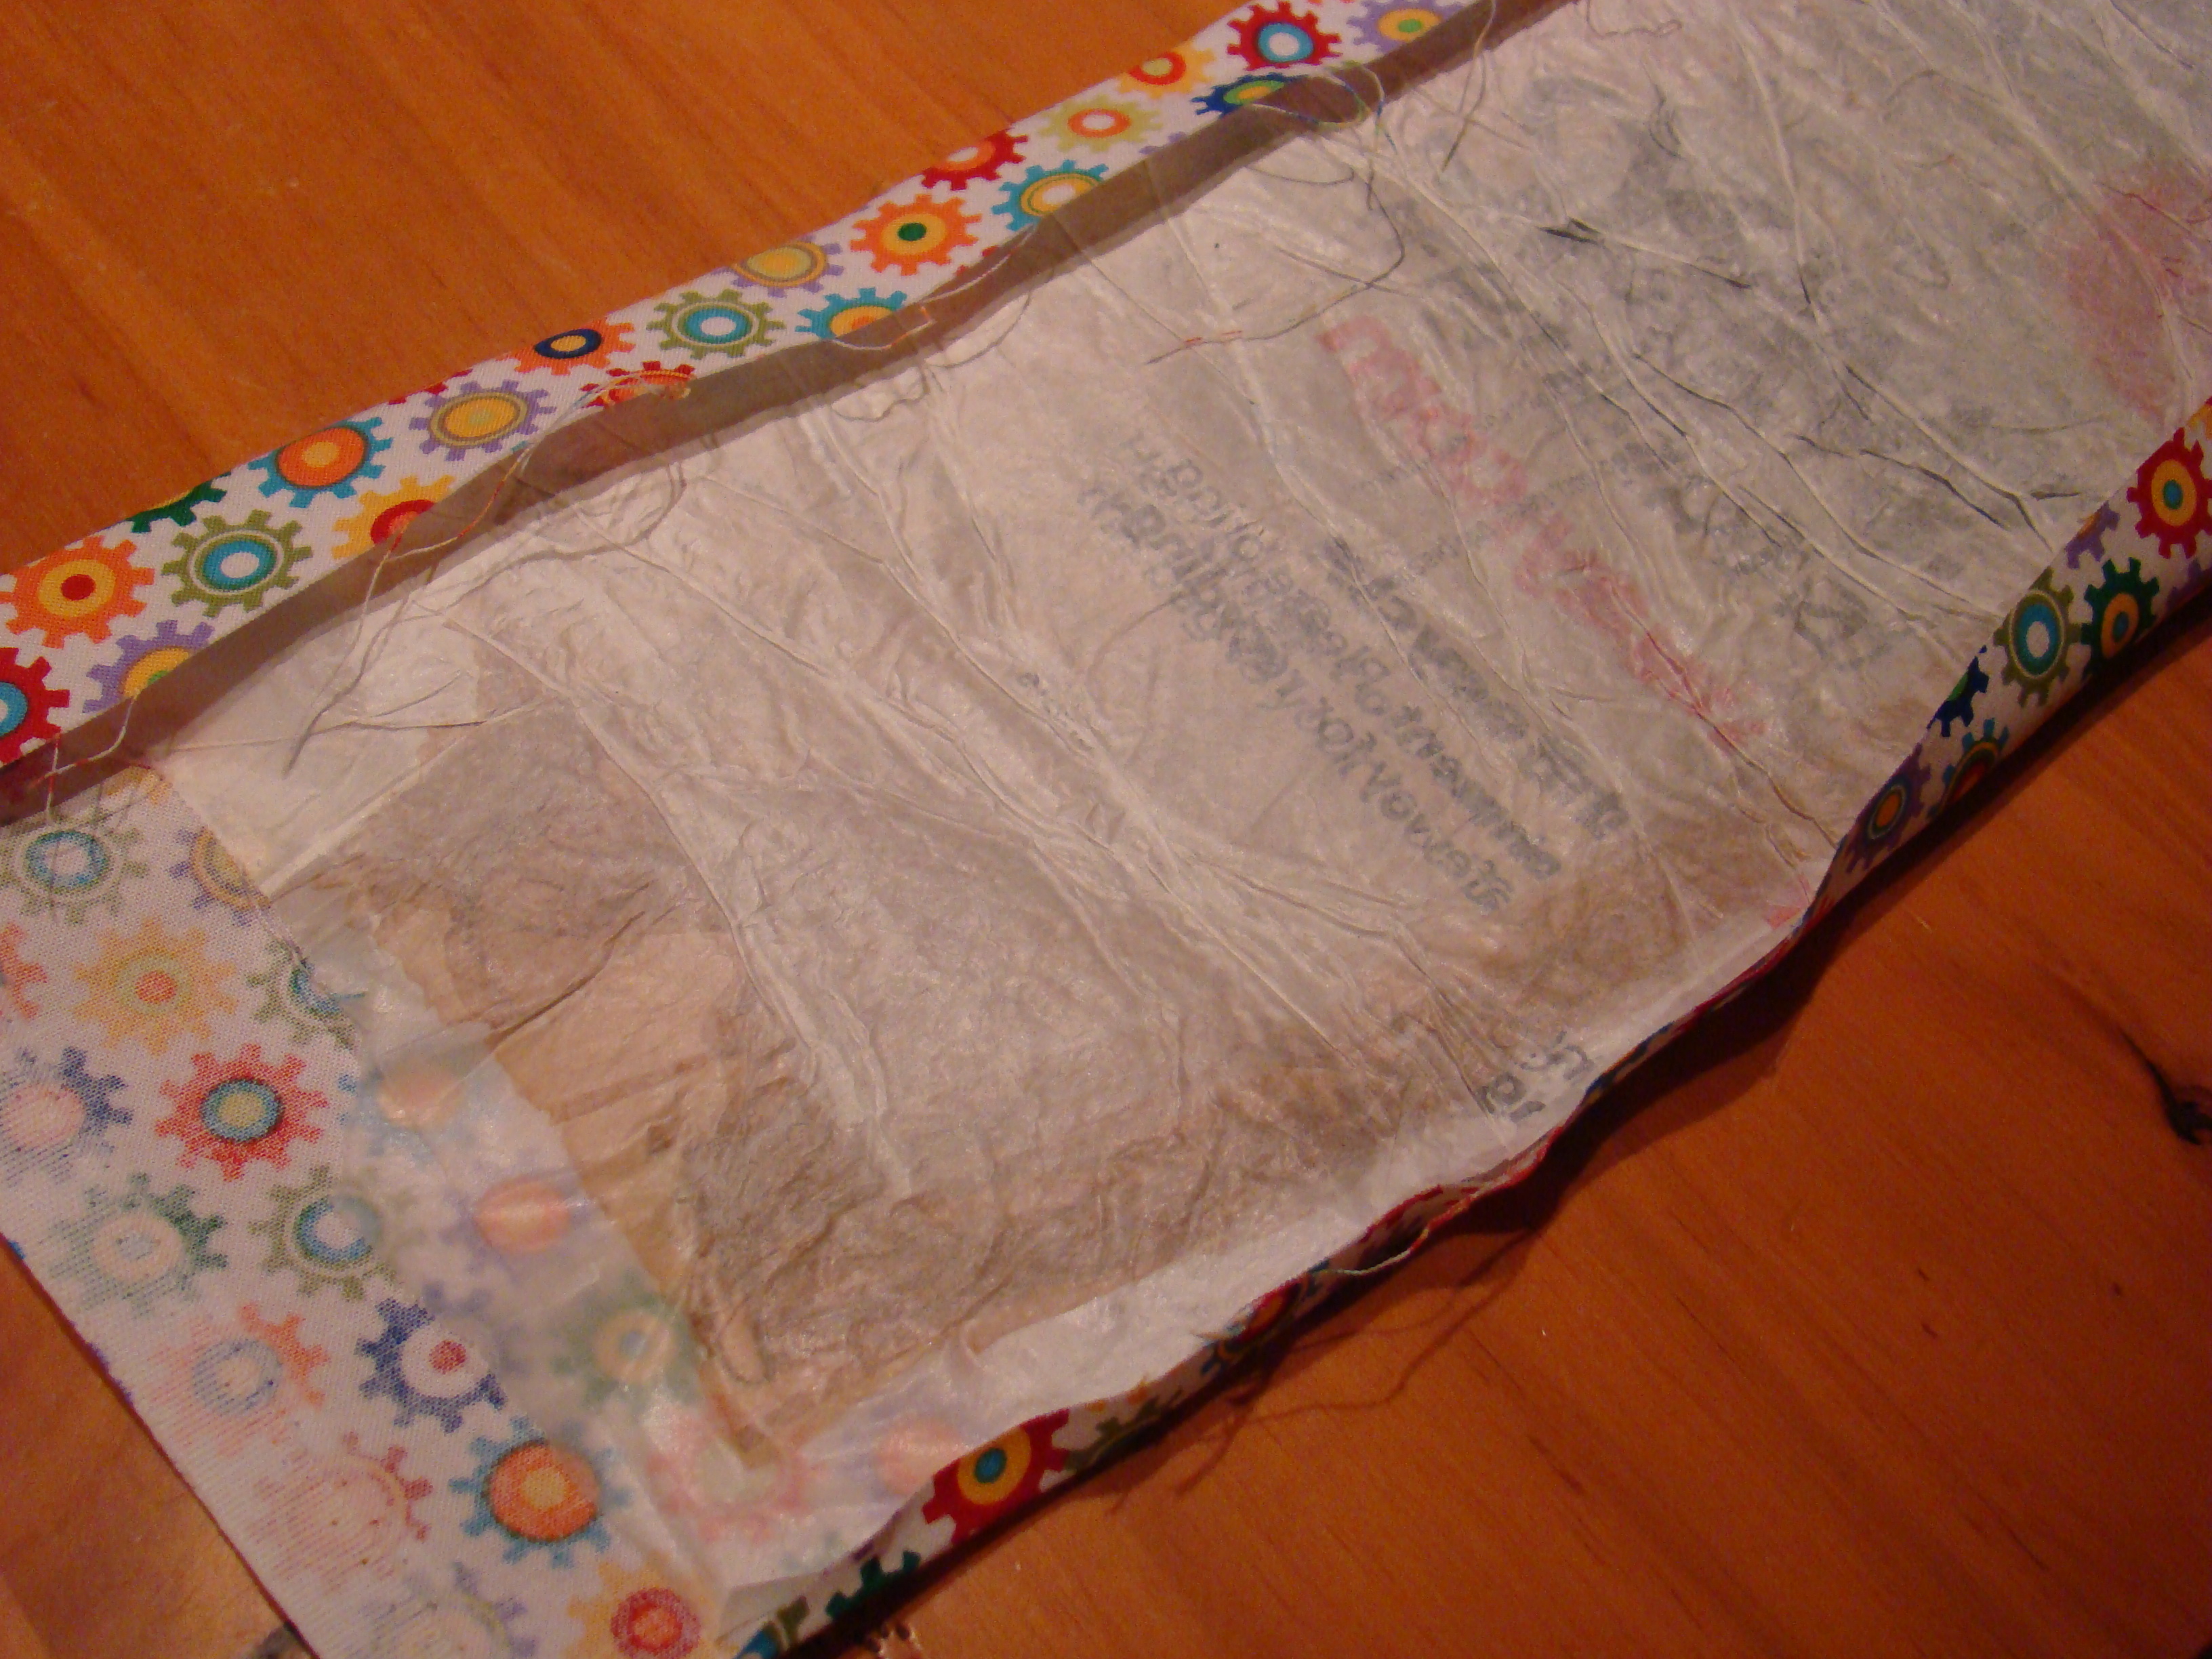
But I had one solid sheet of…cardboard-ish, plastic-y…stuff, so I just kept moving forward.

I hemmed my cute kid fabric onto my wrinkly, crinkly plastic/cardboard/recycled-stuff.

Then I did some eyeballing and cut it to a reasonable sandwich size. (Enter lesson #2). I won’t bother telling you my measurements because it doesn’t fit a sandwich, but if you’re eyeballing something like 12 inches x 5 inches you’re probably right. (You need more width if you’re trying this at home. More width!)

Then I folded my wrinkly, stiff, crinkly, plastic/cardboard/recycled creation into a pocket and sewed up the sides.
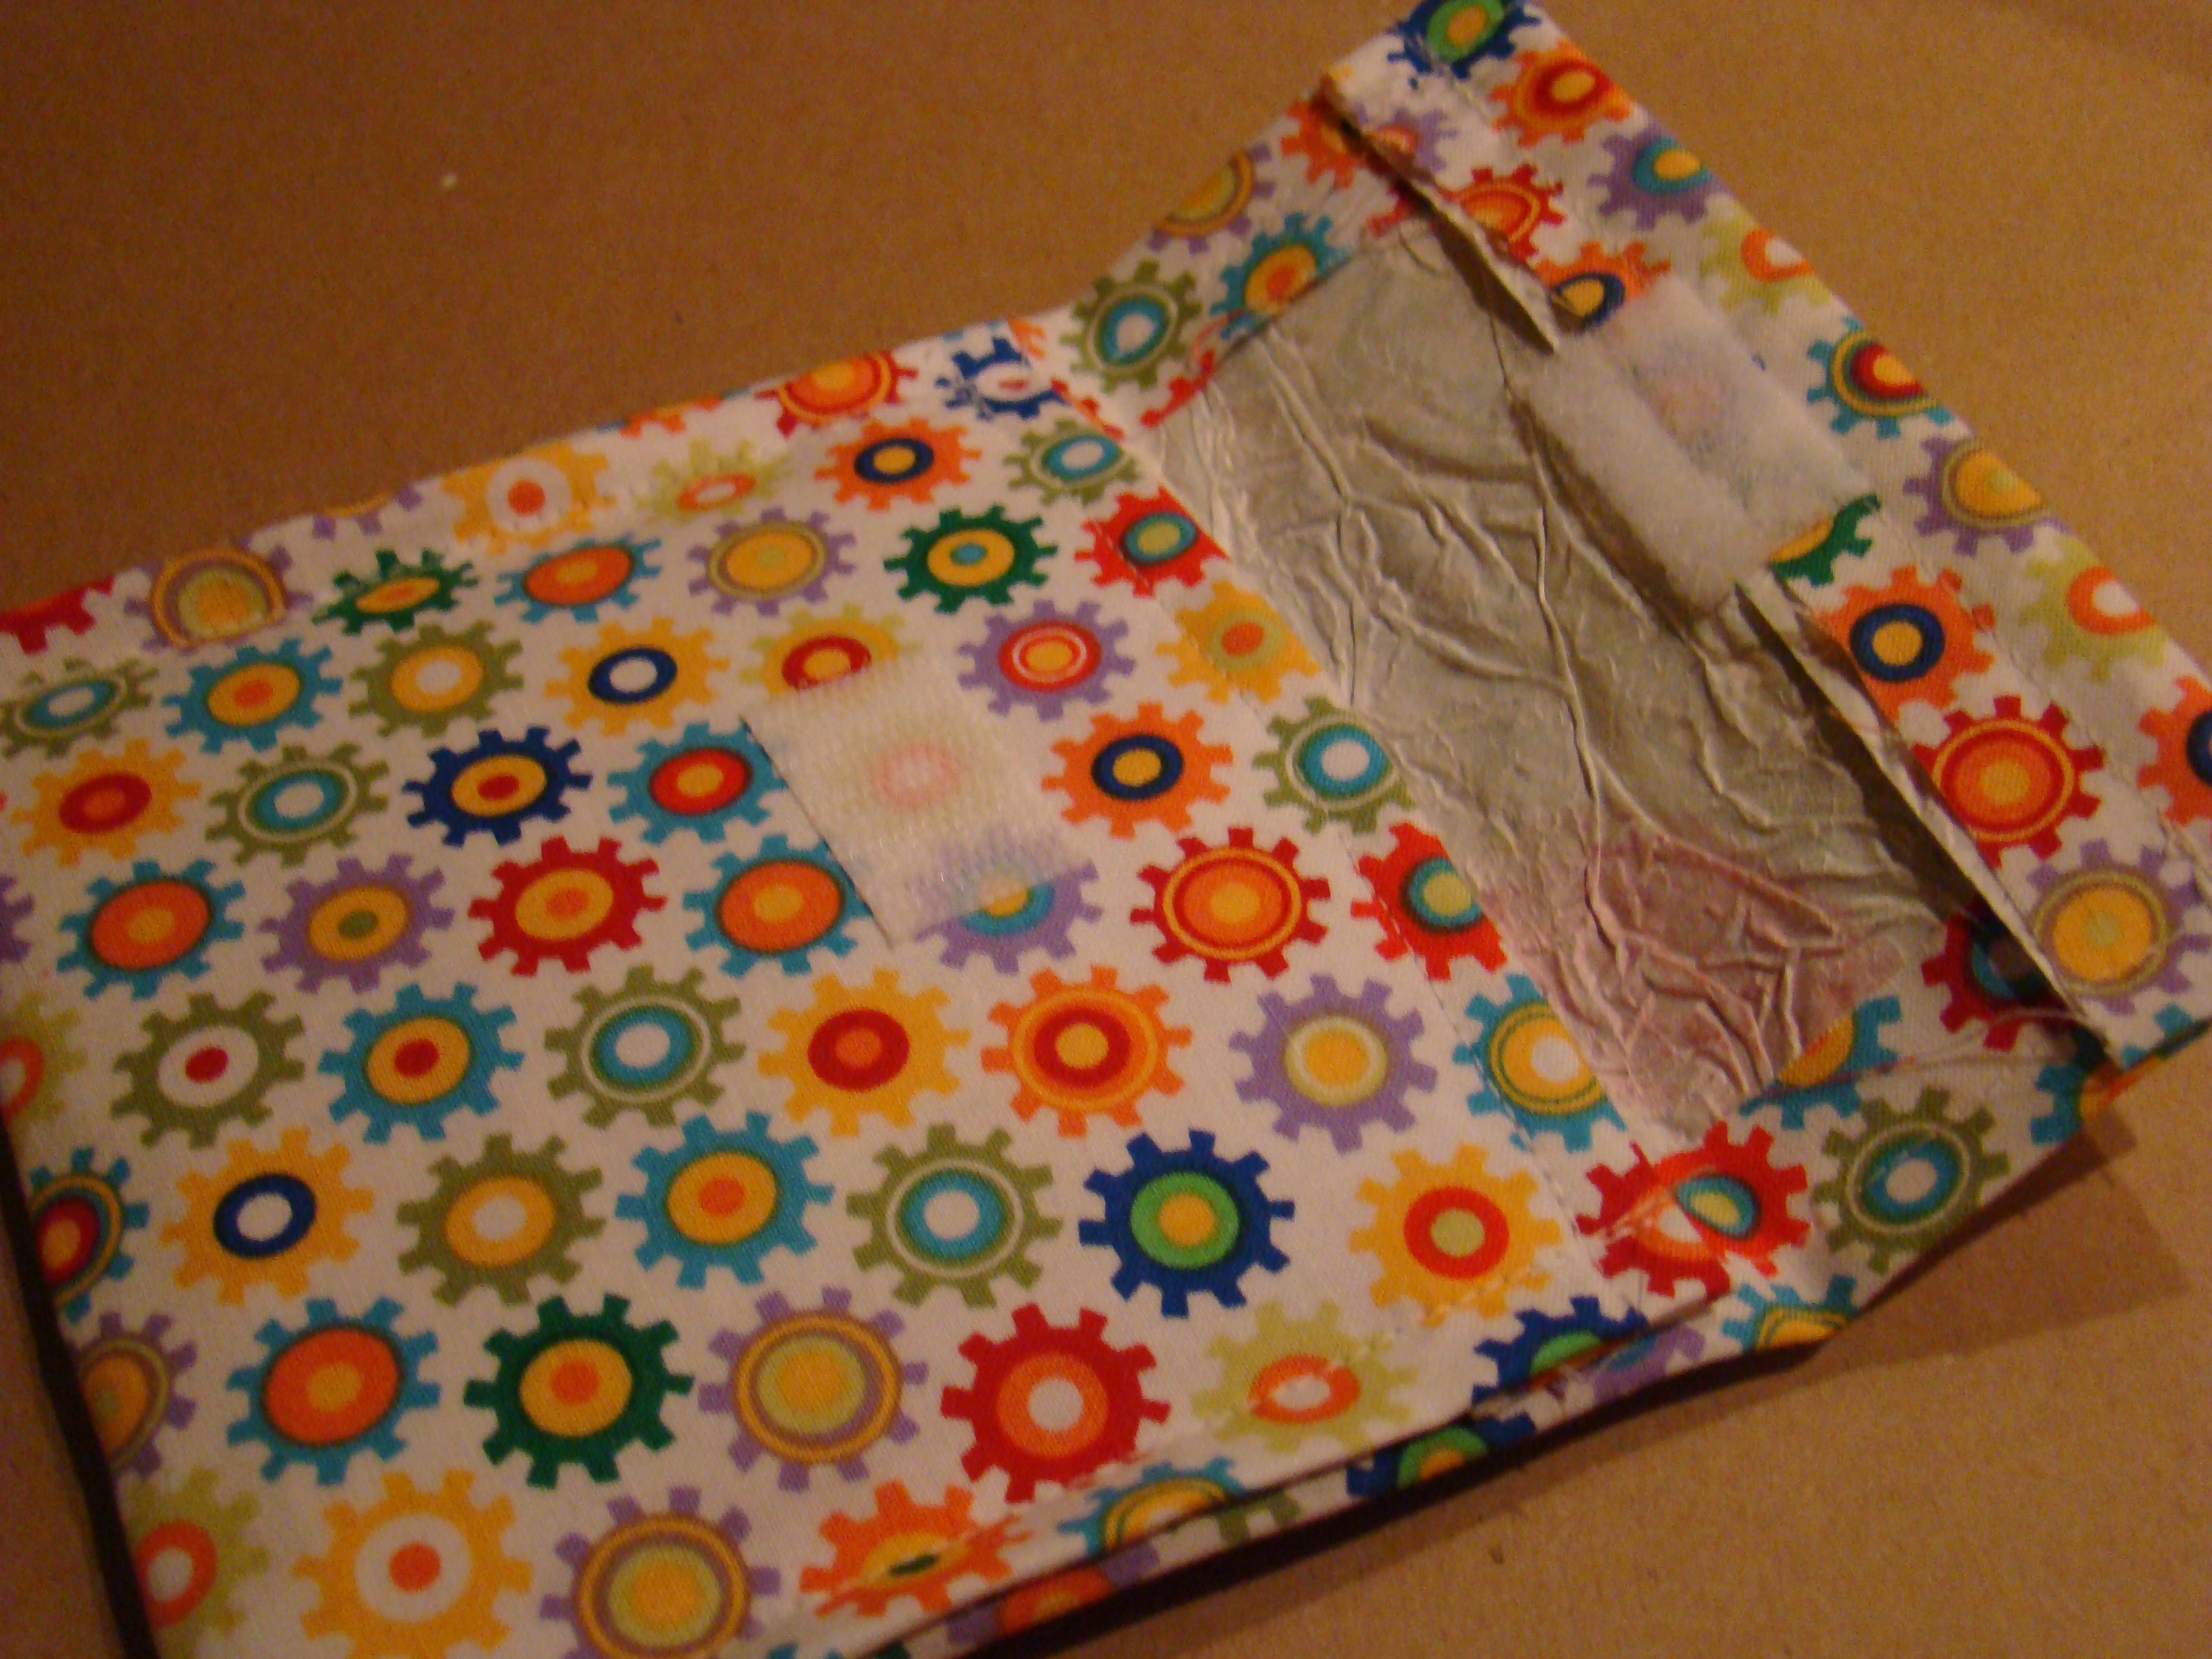
Then I attached sticker Velcro (formally know as “self-adhesive”), sewed it into place so it would be firm, ripped out those stitches because apparently I’m the worst eyeballer in the world, repositioned it several times until it wouldn’t have “self-adhesived” if I paid it, and sewed it back on there.
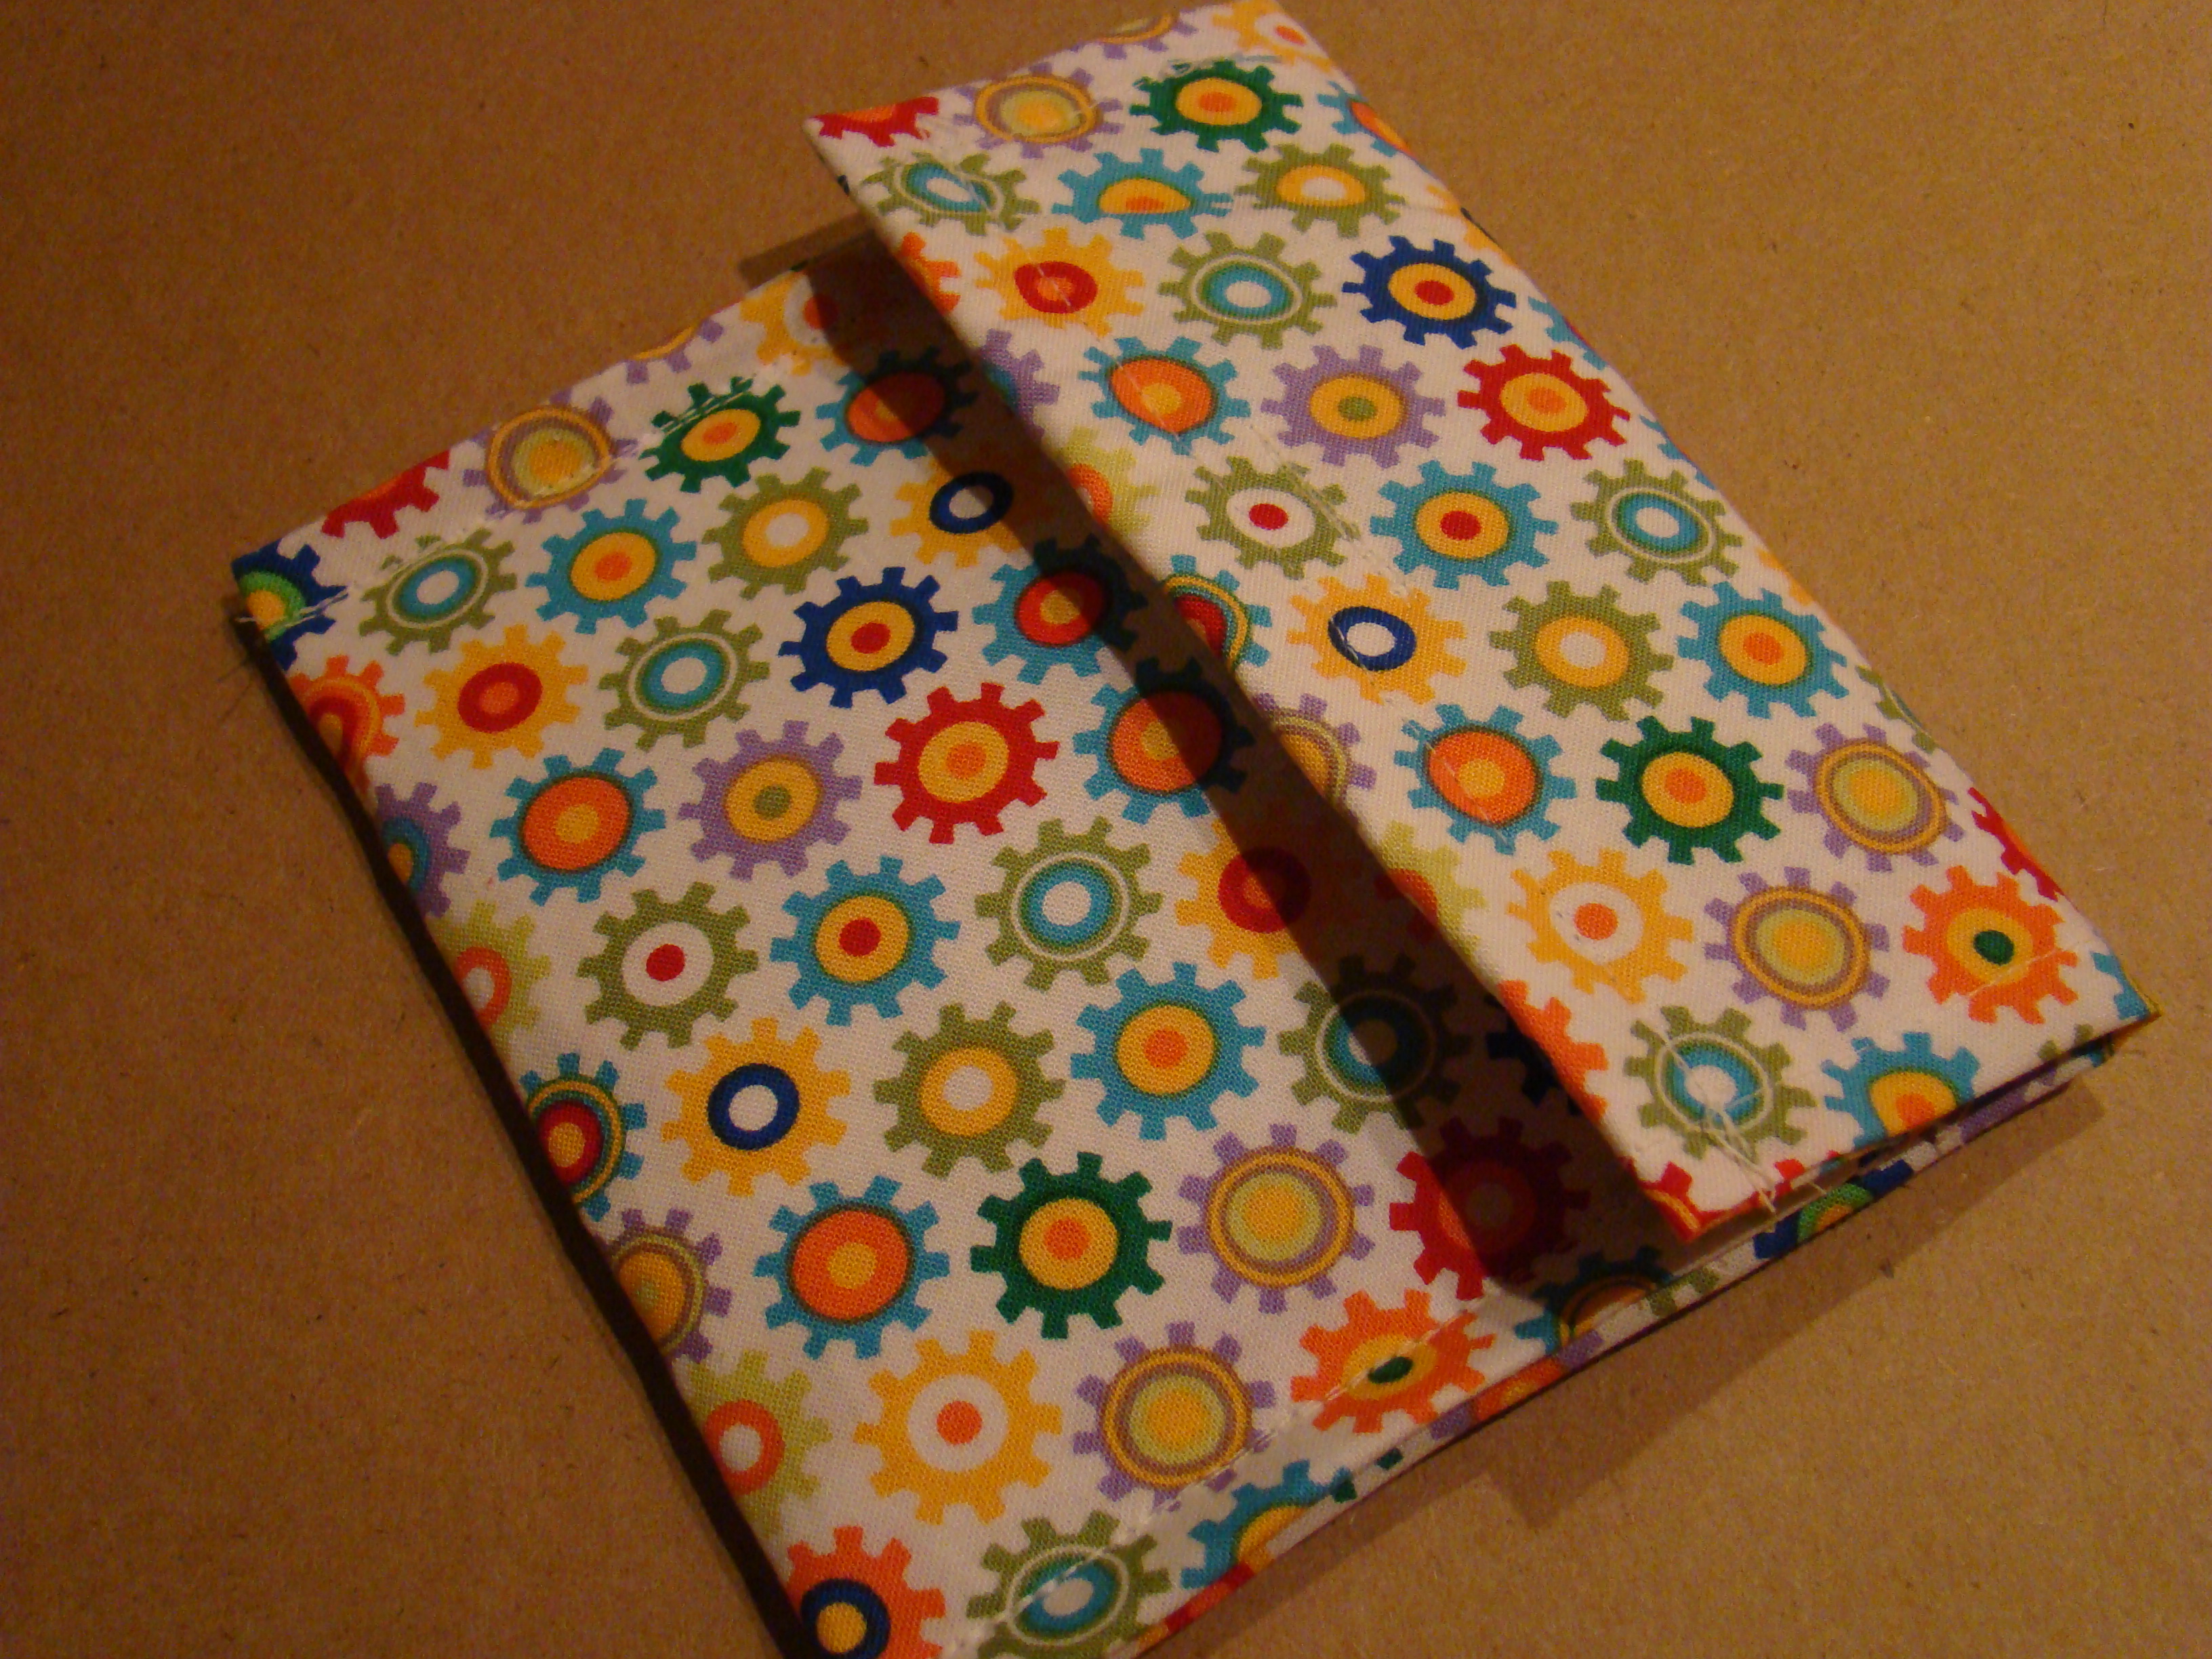
All drama aside, it only took me an hour. I sent the Ladybuy’s half a turkey sandwich off with it as a test run this morning. We’ll see. Meanwhile, now that I understand the directions a little better, I can’t wait to try again.
There’s just one small problem (which Mr. Fix-It apparently got a kick out of pointing out to my recycling-blinded eyes)…our grocery store doesn’t use plastic shopping bags. Those 4 from last night were the only ones I had, and only because we had company that brought them from out-of-town two weeks ago. Mr. Fix-It said, “That’s great Sweetpea, now we know how to reuse something we don’t use to begin with.”
Well, I’m not giving up on this good of an idea that easily!
And, as usual, I’ll also be linking up with Someday Crafts for their Whatever Goes Wednesday. They have an awesome crafty link up over there with over 200+ projects every week. You should definitely stop by and scan through–there are some amazing women out there sharing their skills with us less creatively-blessed but equally motivated ladies!
