
I got my workshop all neatened up while I was off at Christmas, even though I was too busy with the kiddos to do much crafting. But part of my New Years planning is that I’ve written out a rather daunting list of all the crafting, sewing, and creating that I want to get done this year.
The good news is that I have a whole year.
The bad news is that I have a big list.
But I got started the other day with something that I’ve been promising my boys and I was really getting back in the groove of Bessie humming along.
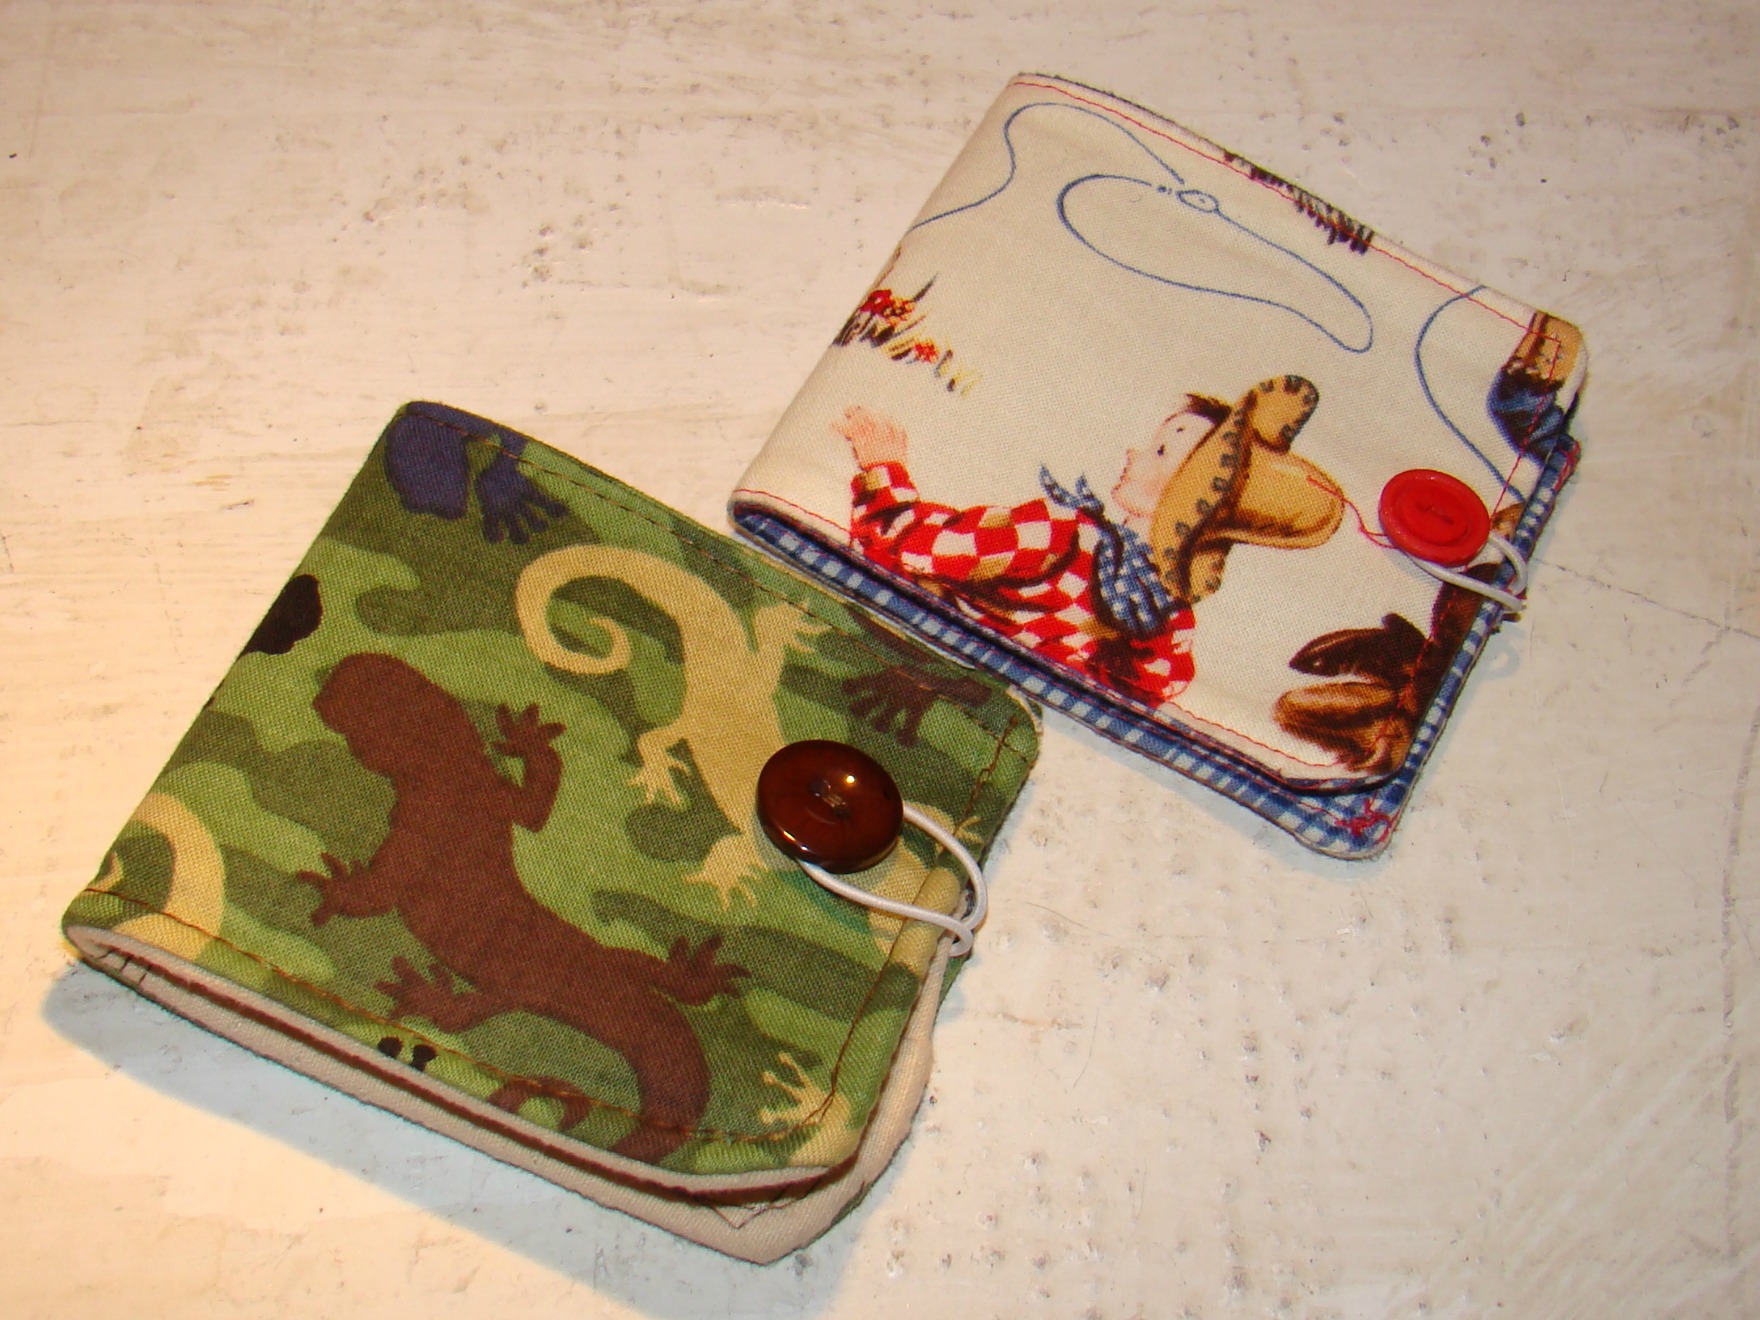
I found a tutorial on making wallets for boys over at Noodlehead and my Cowboy had been asking me to make him one like his Daddy’s for a while. They’re not really like Mr. Fix-It’s (his is a tri-fold), but they’re my first try. And the important parts are the same–card slots and a place to put their “dollars.” They’re each about 8 inches by 4 inches and they just barely cram into little boy jean pockets.
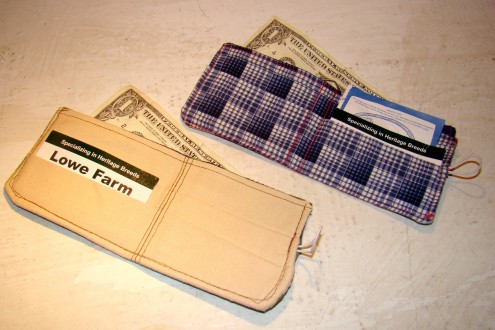
I used the fabric sizes from the tutorial, but then just sort of winged it, occasionally taking a look at her pictures. They weren’t very difficult, but this is definitely a project that benefits from careful, straight cutting and more pinning and ironing wouldn’t have hurt either. It’s just hard to focus when you’ve got two bouncing little boys at your elbow asking “are you done yet, are they done yet?”

I stitched over everything several times, to be sure it was strong. Little boys are tough on the things they love! I also didn’t use a heavier fabric like the suiting she used in the tutorial. I just used what I had on hand. But I did use the medium weight fusible interfacing and I don’t think it would have worked well without it.
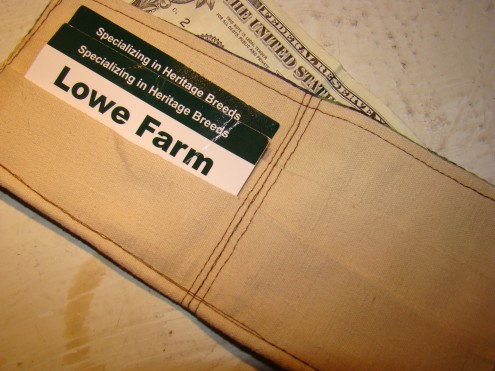
I managed to finish both of them in about 2 hours for my impatient audience. I added the loop and button closure to make them more secure and also just to add some embellishment because I thought they would be disappointed with how simple and plain they were. I decided to do the loop at the last minute and tucked it into the open seam I left for turning before I top stitched. A little more forethought would have improved how those turned out too and I can guarantee those will be the first thing to break. The buttons were just hand sewn on at the end.

They love them.They’ve been fussing about them and carrying them around with them from the second I handed them over.
I really enjoyed doing these and I’m trying to think of who else I can make one for. It’s a great way to use up bigger scraps. And I don’t think it would be that difficult at a snap flap closure to one side of the card slot piece for change if you wanted to.
What have you worked on lately?
